
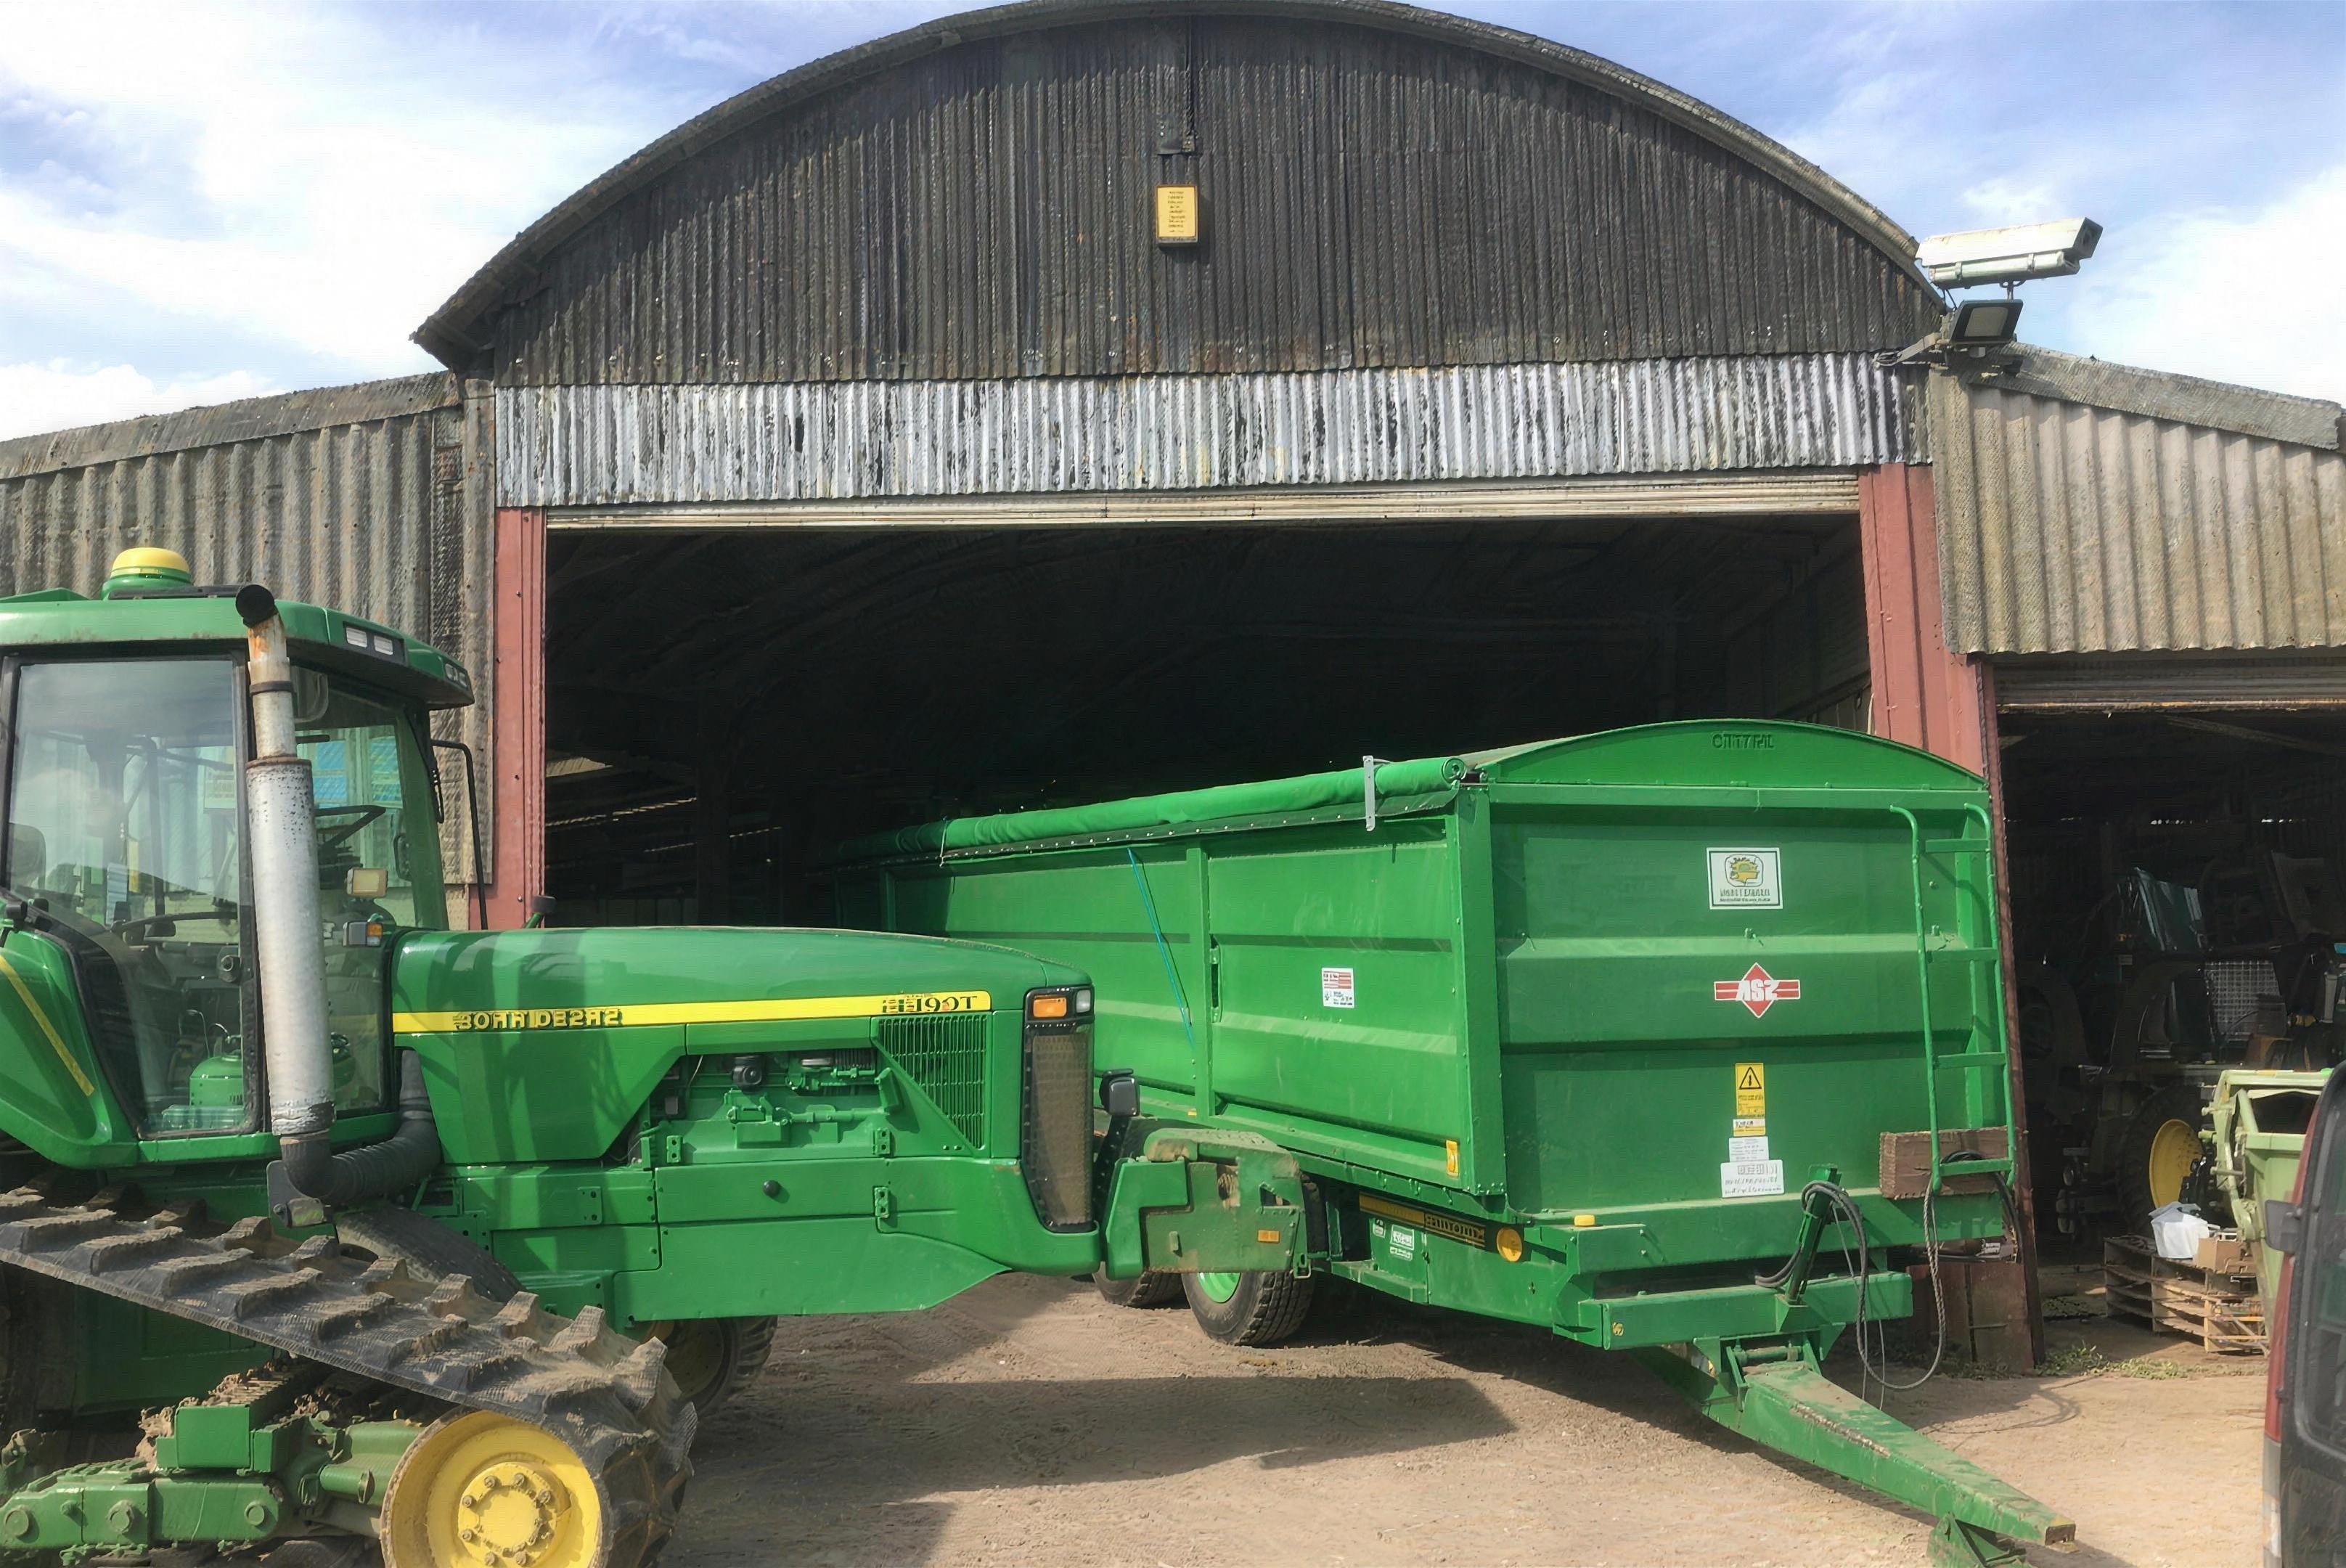
On your trailer in half a day.
The kit retrofits to most farm trailers with everyday tools. Set the arches, batten the sheet down one side, pull it over and tension it. Here is exactly how.
Everything you need, in one delivery.
Your kit arrives with the heavy-duty PVC sheet cut to your trailer, a fully powder-coated set of steel arches, the aluminium centre tube and outside pole, the winding handle, ratchets, pulling-over rope, aluminium flats and upright brackets, and all the screws, bolts and rivets.
- Heavy-duty PVC sheet with reinforced edges
- Powder-coated arches, aluminium poles and winding handle
- Ratchets, rope, fixings and a printed fitting guide
Before you start. The sheet screws onto the side of the trailer you told us when you ordered, and the narrow end of the sheet is the front. Check both before fixing anything.
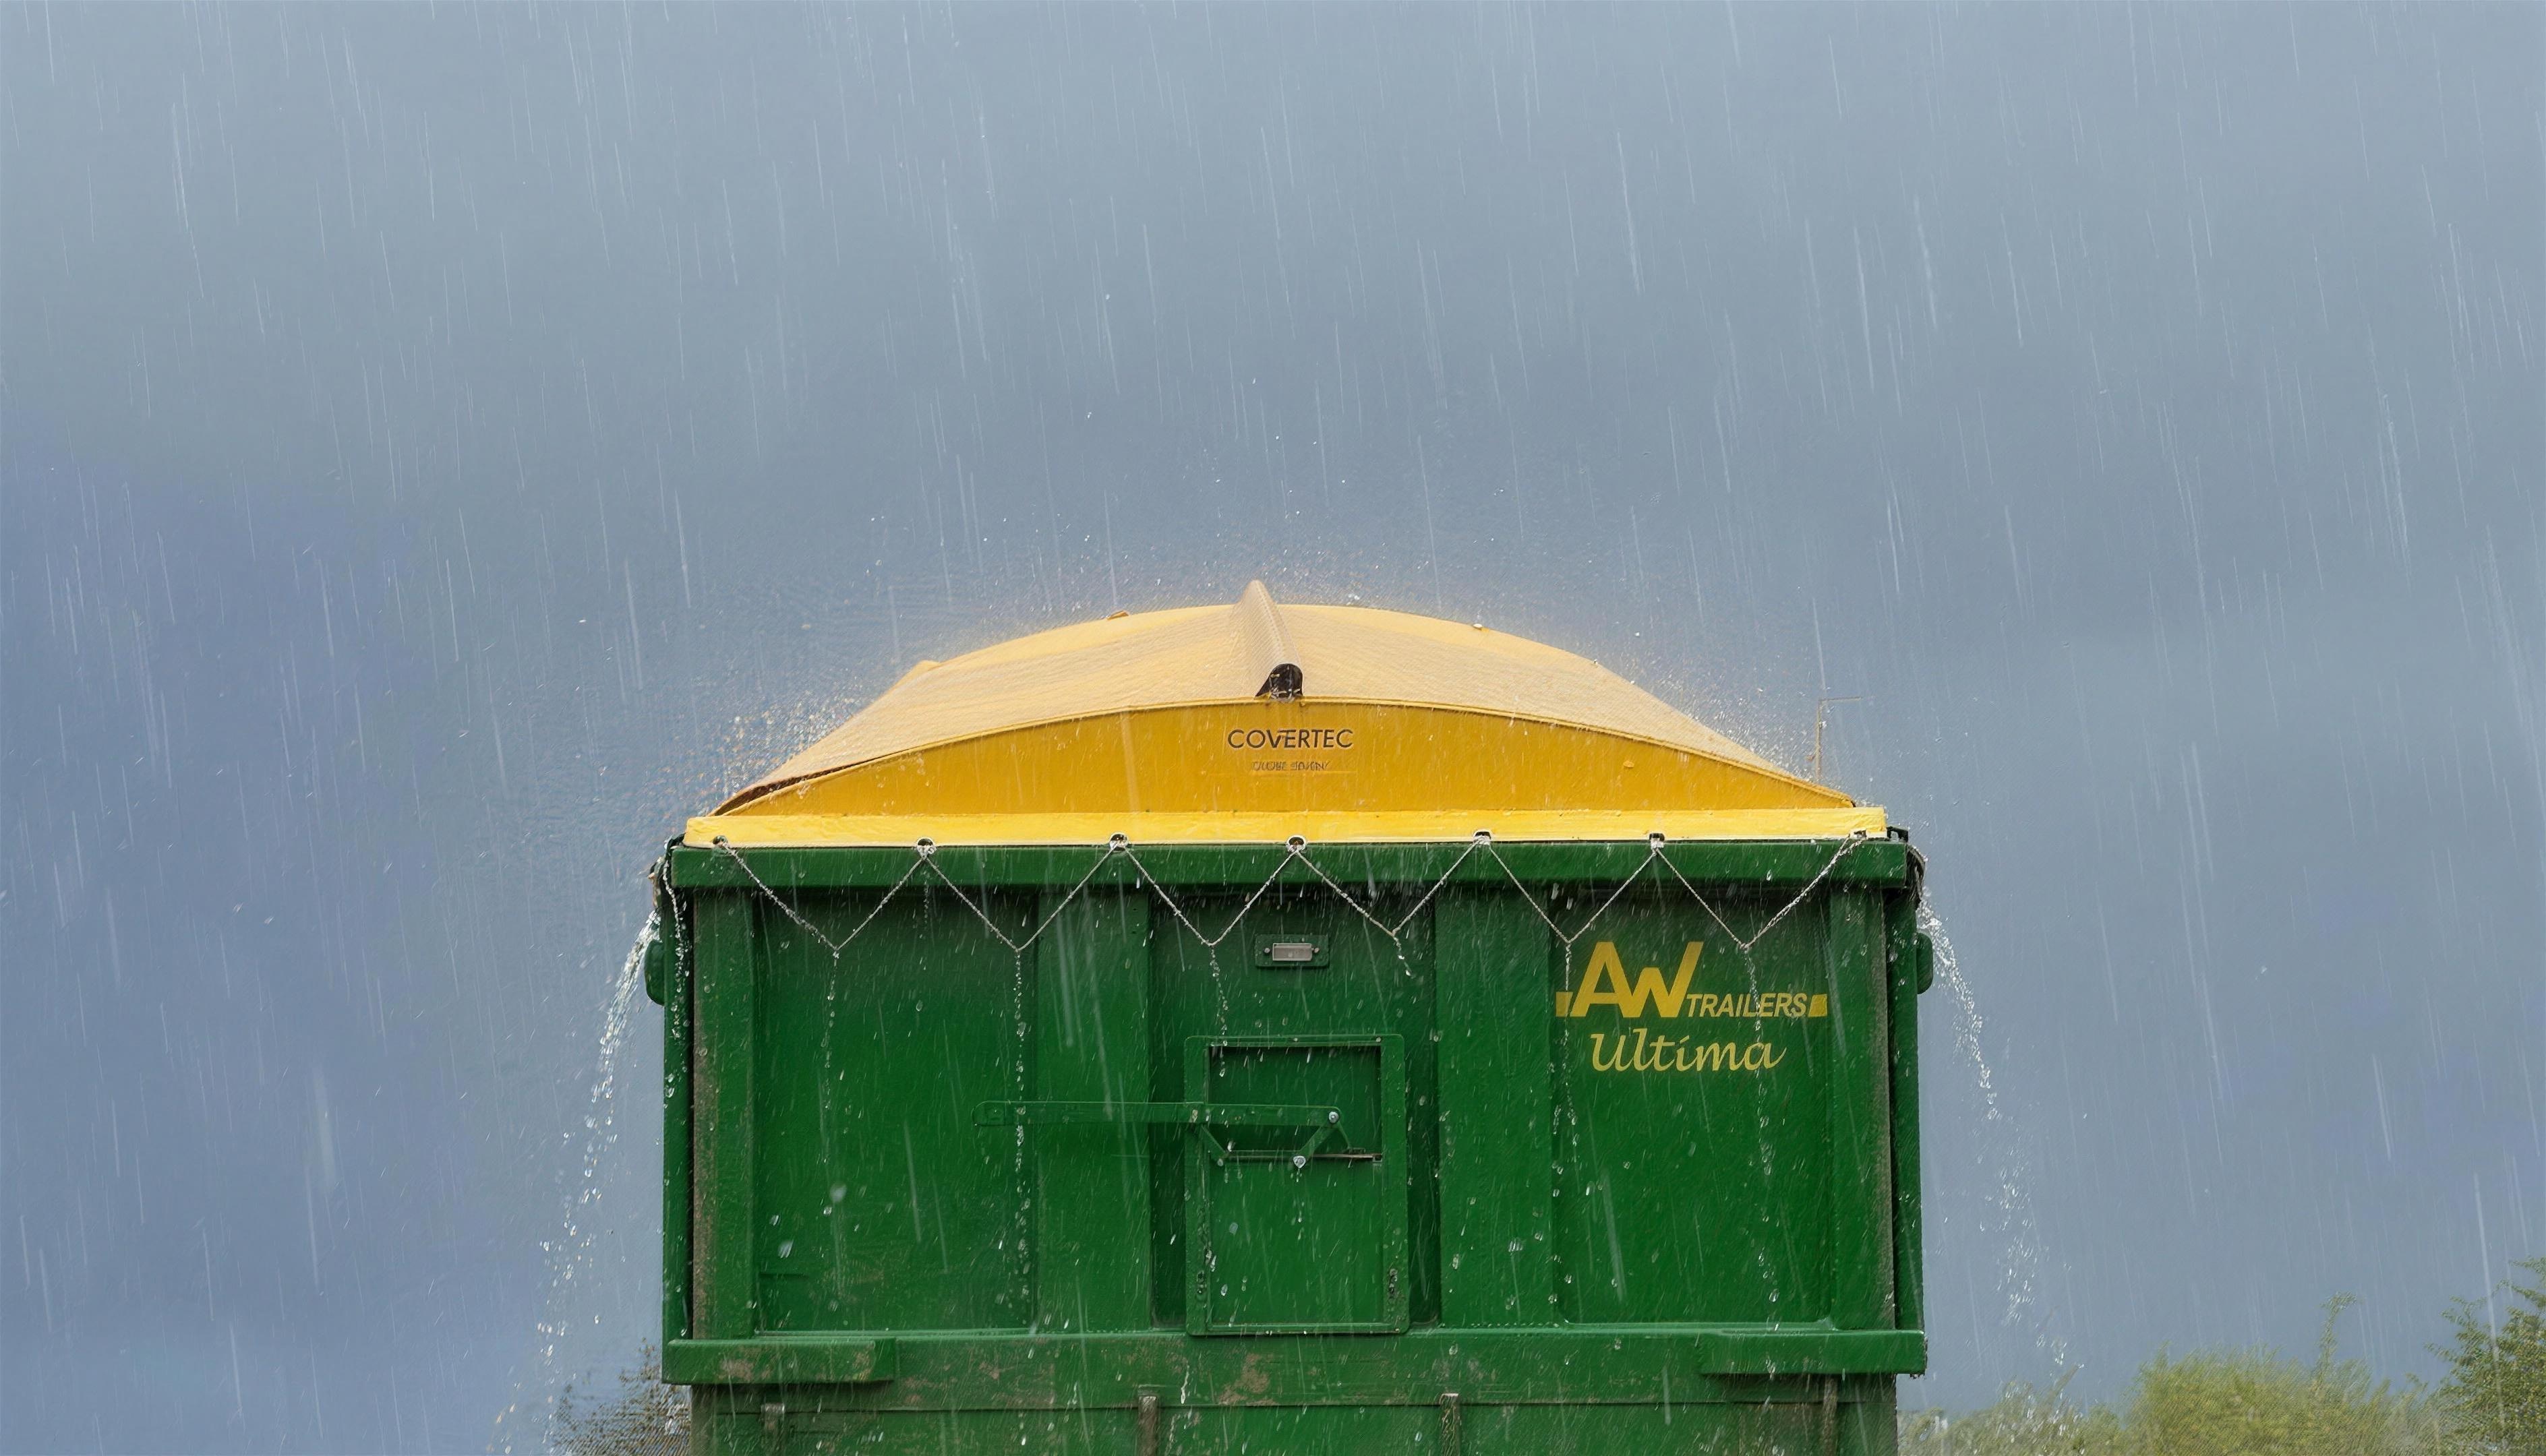
Eight stages to a fitted sheet
This is the short version of the printed guide that comes with your kit. Keep the sheet pulled tight and crease free at every stage.
Set the front and rear arches
Place the front arch on the front of the trailer with its flat face level with the inside of the trailer and the gutter resting on the trailer wall. Do the same with the rear arch at the back. Line the inside of each arch up with the inside of the trailer, then screw both corners down with two of the tek screws provided.
Fit the centre tube
Open the sheet out on the floor in front of or behind the trailer to check it is the right way round. The narrow end is the front. Slide the shorter of the two tubes into the middle pocket, with no more than two inches poking out at the back, and fix it with two rivets in each end.
Position the ratchets and webbing
Decide where the ratchets sit on the trailer. The front one usually sits twelve inches in, and the rear one just in front of the hydraulic tailboard pivot point. Transfer those measurements to the outside pocket of the sheet, cut a two-inch slot at each mark, and locate the webbing straps in the slots. The pulling triangle goes exactly in the middle of the outside pocket.
Fit the outside pole
Slide the two-inch pole through the outside pocket and the webbing. This pole has a bolt in one end which locates the winding handle, so take a minute to decide whether you want to wind from the front or the back of the trailer before you commit.
Lift the rolled sheet onto the trailer
Attach the rope to the triangle, then roll the sheet towards the side you are screwing it onto. Lift the pre-rolled sheet onto the trailer without unrolling it, leave one inch hanging over the fixing side, and line the front edge up with the inside edge of the front arch.
Batten the sheet down the fixing side
Cut a short piece of the aluminium flat, drill pilot holes, and screw it on so the sheet is trapped between the trailer and the strip. Screw on the first upright bracket, then continue along the side with the long length of flat, keeping the sheet tight and crease free. Stop at the tailboard pivot point, leave room for the second upright, and lift the tailboard to fit the last piece.
Pull the sheet over and fit the ratchets
Slide the rear arch under the sheet until it stops, and hold it with one tek screw. Pull the sheet over with the rope, attach the ratchets with two M8 bolts each, and secure the rear arch with two tek screws.
Test, rivet and finish
Check the sheet operates by rolling it back with the winding handle in the outside pole, keeping it rolled tight with every turn. Then put two rivets in each end of the outside pole, secure the arches on the opposite side with the long brackets and gutter bolts, and screw the winding handle brackets onto a convenient spot on the chassis. That is the job done.
Tools, time and help
- Tools you need
- Drill or tek driver, rivet gun, spanner, knife, tape measure
- How long it takes
- About half a day
- How many people
- Two, the sheet is a two-person lift
- Stuck?
- Ring the production site, the makers will talk you through it
Fitting questions, answered plainly
The side you told us when you ordered. The sheet rolls open towards the opposite side, so check before you start battening. If you are not sure, ring us and we will check your order.
The ratchets tension and secure the sheet when it is pulled over. The winding handle locates in the outside pole and is what rolls the sheet back open. Always roll it tightly with every turn.
Ring us. You will get straight through to the people who made your kit, and they will talk you through whatever you are stuck on. No call centre, no tickets.
Ready when you are.
Design your kit online for an instant price, or request a made-to-measure quote.