
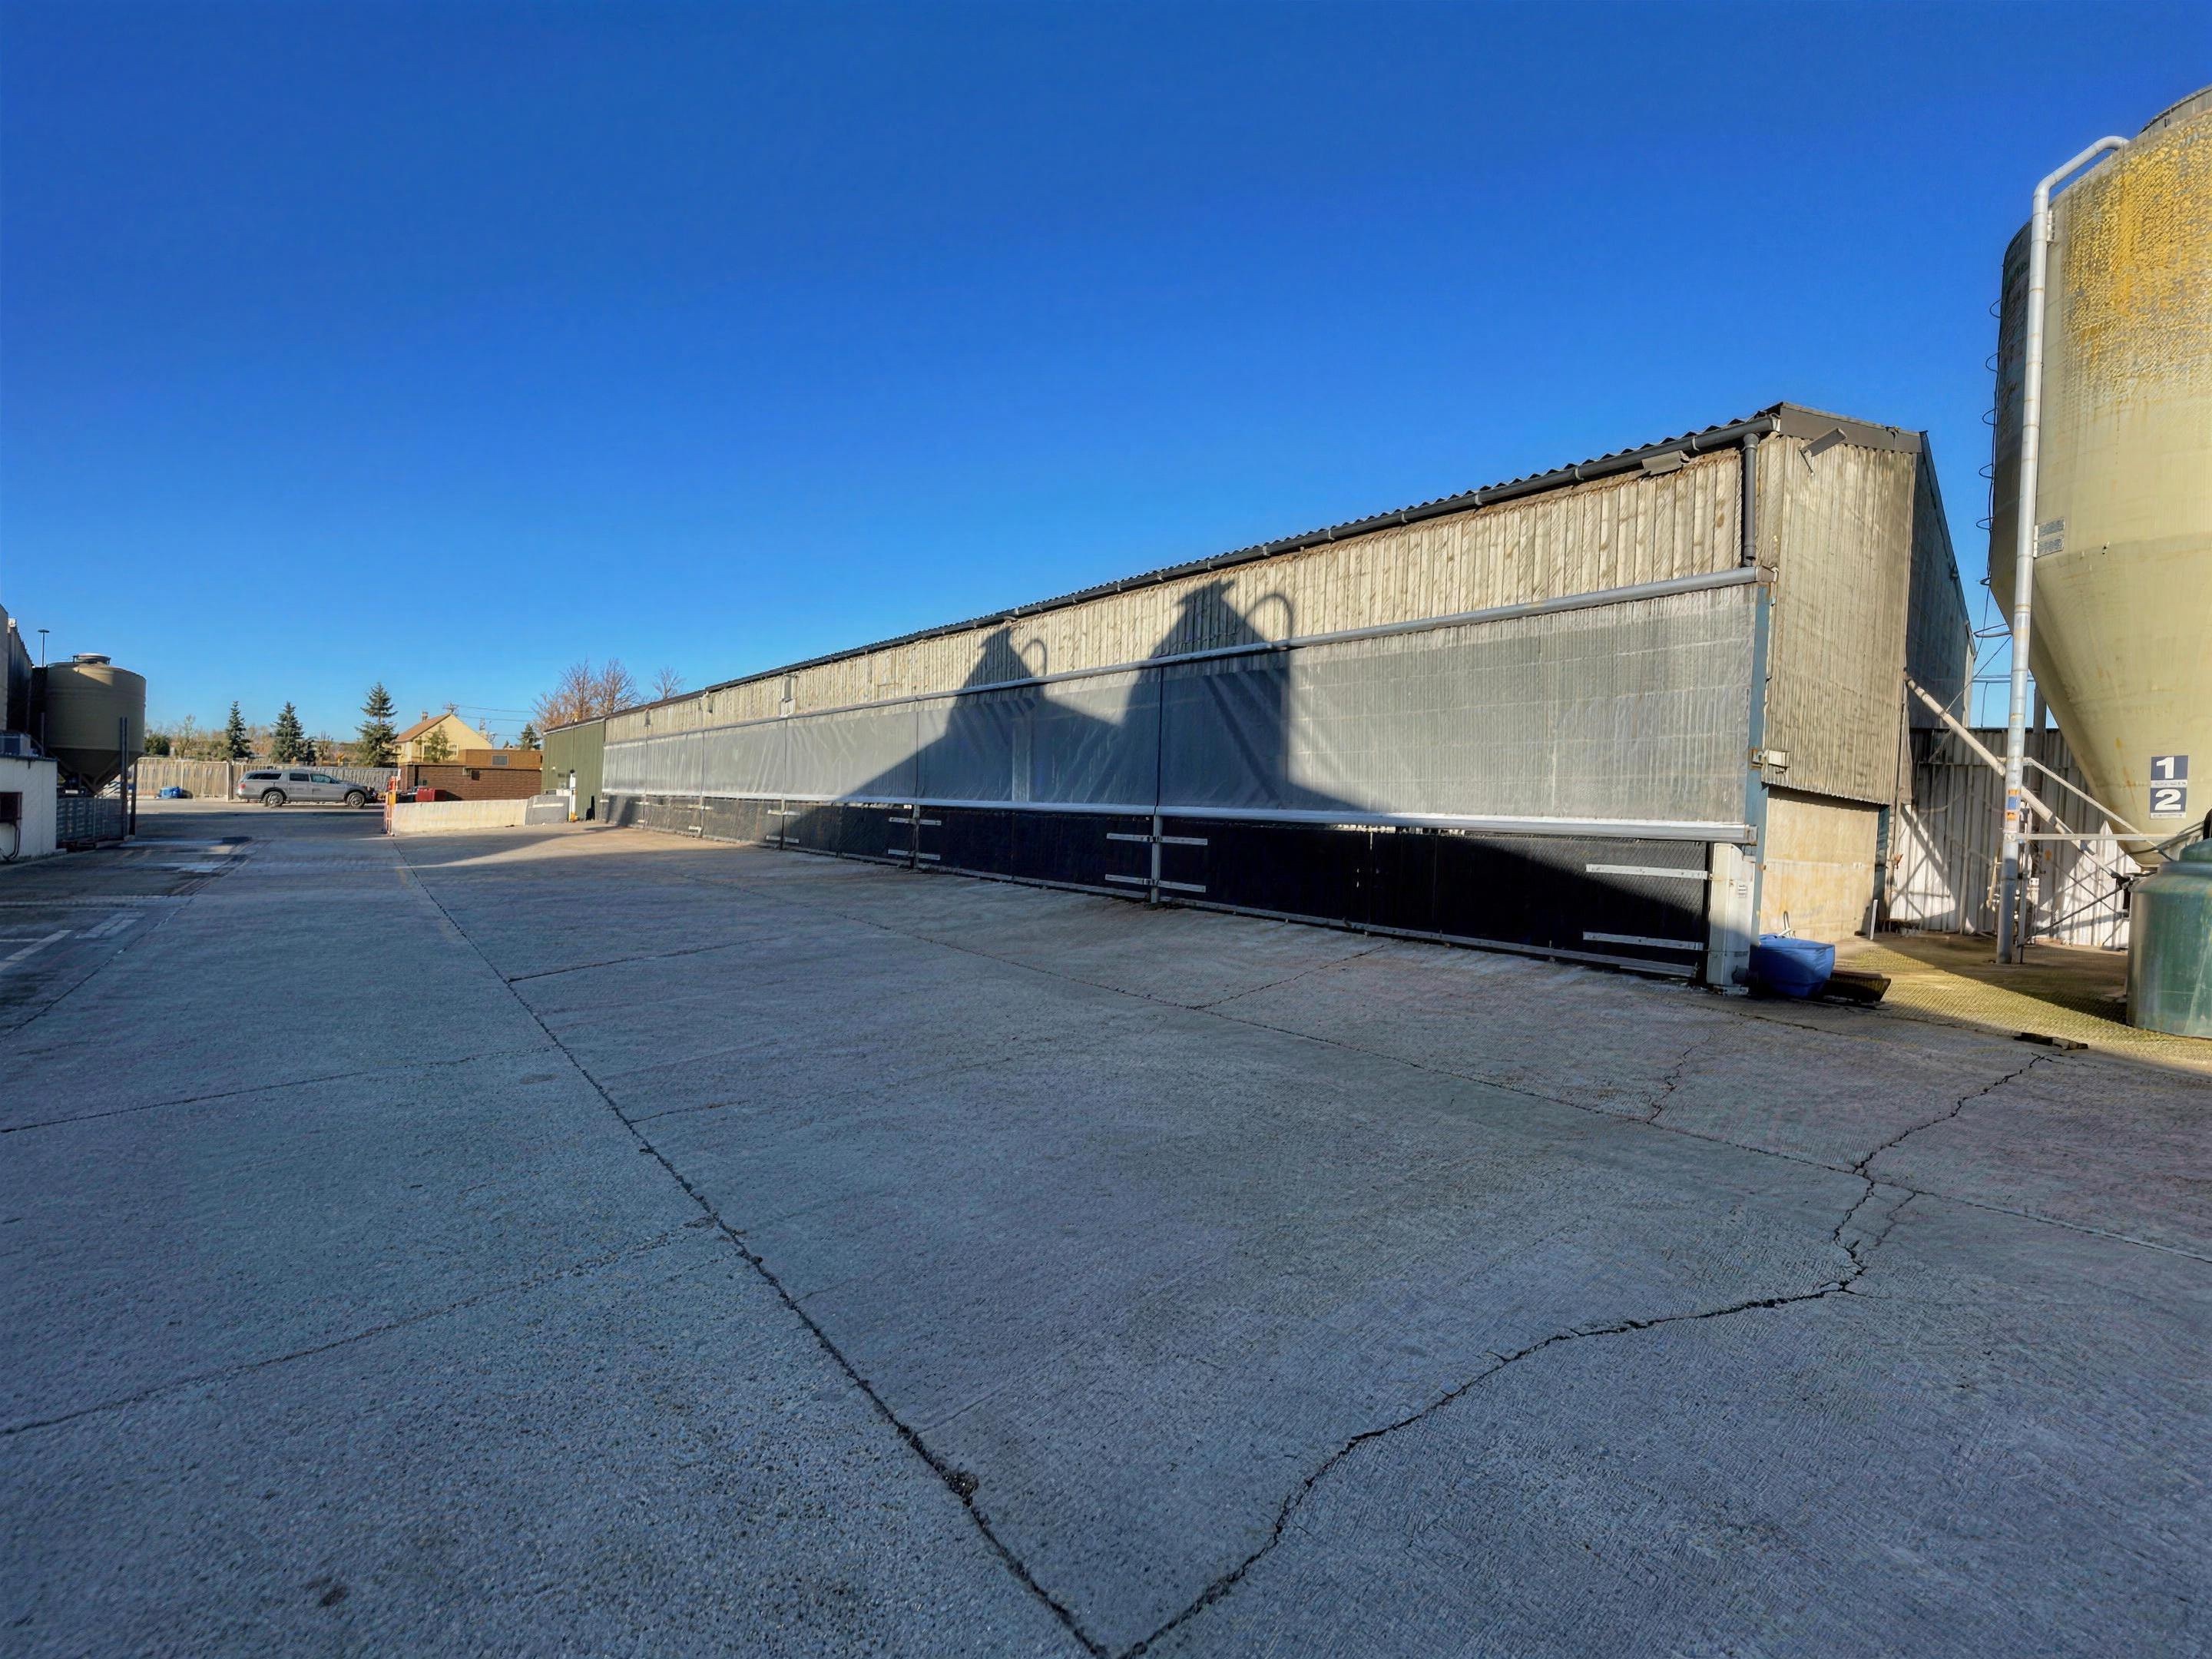
Up on the wall in a couple of hours.
The blind arrives complete on its roller with the spring mechanism already tensioned and locked. Mark the brackets, bolt it up, release the spring last. Here is exactly how.
Everything you need, in one delivery.
Your blind arrives complete on its extruded aluminium tube with the end brackets fitted. Alongside it, you will find the fixing bolts and the C brackets that hold the bottom bar when the blind is fully lowered. Nothing else to buy, nothing else to source.
- The blind, complete on its tube with brackets fitted
- Fixing bolts and C brackets for the bottom bar
- A printed step-by-step fitting guide
Important. Do not remove the shrink wrap or the bolt from the bracket on the right-hand side of the blind until it is fully installed. That bolt secures the spring mechanism, and releasing it early can cause damage or injury.
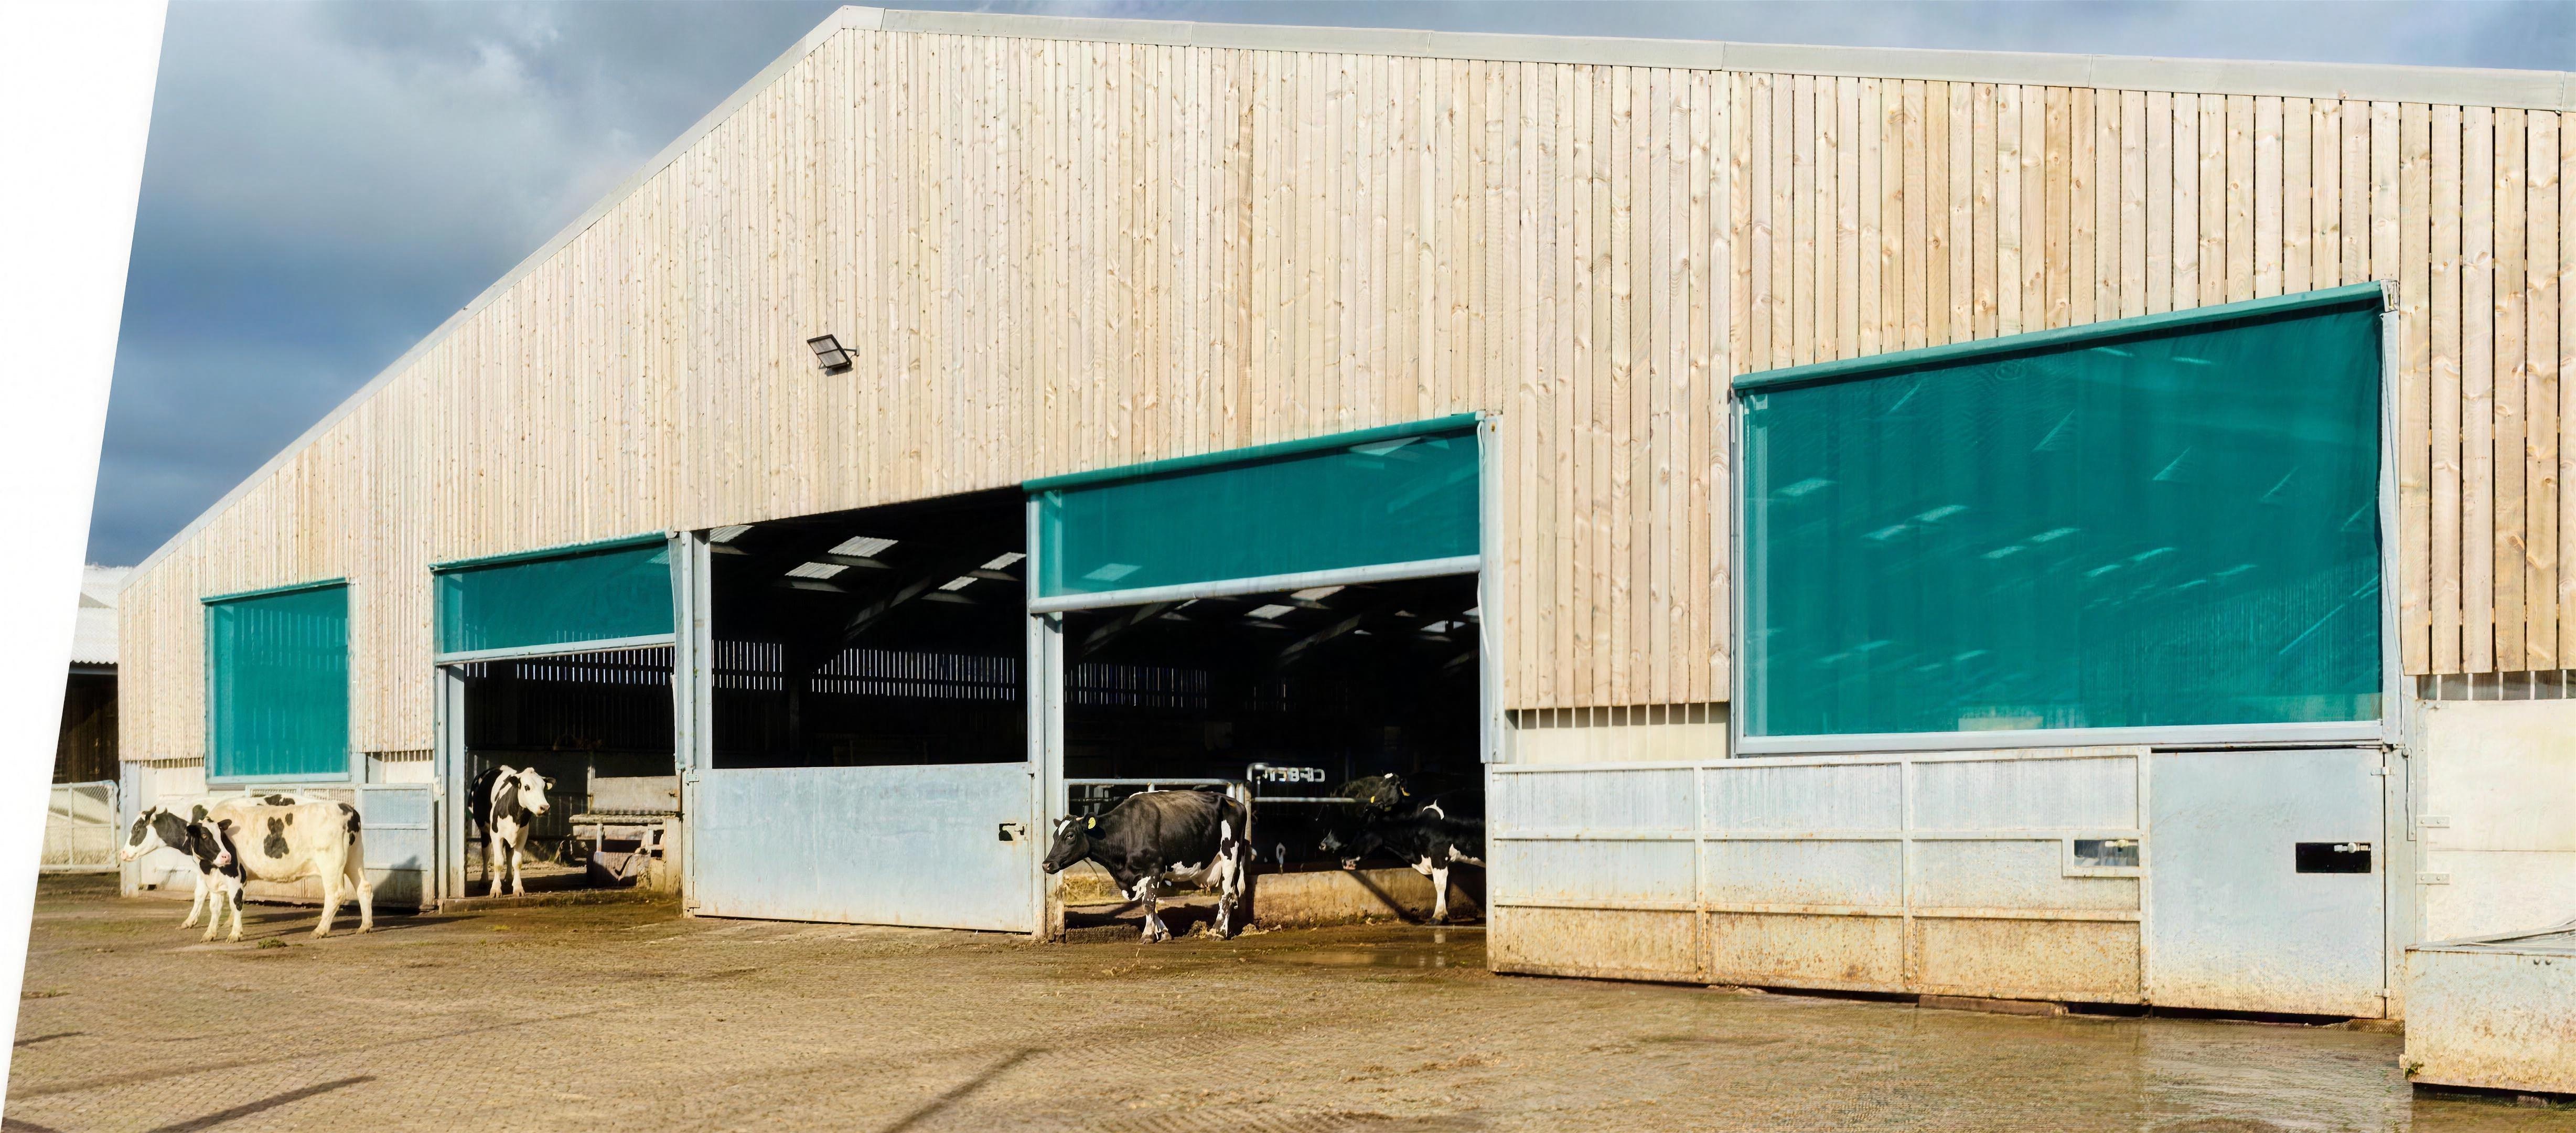
Six steps to a fitted blind
This is the short version of the printed guide that comes with your blind. Keep the retaining bolt in place until step four.
Measure between the brackets
Carefully measure the distance between the two brackets on the blind, from fixing hole to fixing hole, not from the outer edges of the brackets. Use this measurement to mark the fixing positions where the blind will be installed.
Check, then drill
Make sure the marked bracket positions are correct and level before you drill. Then drill the holes at your marks to suit the bolts provided.
Lift the blind into place and bolt it up
Partially remove the shrink wrap so the brackets at each end are exposed. Lift the blind into position, using clamps to support it if needed, line the fixing holes up with your drilled holes, and bolt it securely to the wall. Remove any clamps once it is fixed.
Unwrap, then release the spring
Remove the remaining shrink wrap. Only now remove the retaining bolt from the right-hand bracket, which frees the spring mechanism so the blind can operate.
Mark the bottom bar position
Pull the blind down to its lowest position and mark where the bottom bar sits on both sides of the wall. Release the blind carefully and let it retract.
Fit the C brackets and test
Line the C brackets up with your marks, mark and drill the fixing holes, and bolt them on. Pull the blind fully down to check the bottom bar sits securely in the C brackets. They should hold the blind firmly in place when fully lowered. That is the job done.
Tools, time and help
- Tools you need
- Drill, spanner, spirit level, tape measure, clamps
- How long it takes
- A couple of hours
- How many people
- Two, to lift the blind into position
- Stuck?
- Ring the production site, the makers will talk you through it
Fitting questions, answered plainly
The bolt locks the pre-tensioned spring inside the tube. If it comes out before the blind is bolted to the wall, the spring releases its tension and the blind will not operate properly. Leave it in until the blind is fully fixed.
Spring loaded blinds suit drops up to 3m and widths up to 6.1m. For drops over 3m we recommend our hand chain roller blinds, which have their own fitting guide.
Ring us. You will get straight through to the people who made your blind, and they will talk you through whatever you are stuck on. No call centre, no tickets.
Ready when you are.
Design your blind online for an instant price, or request a made-to-measure quote.