
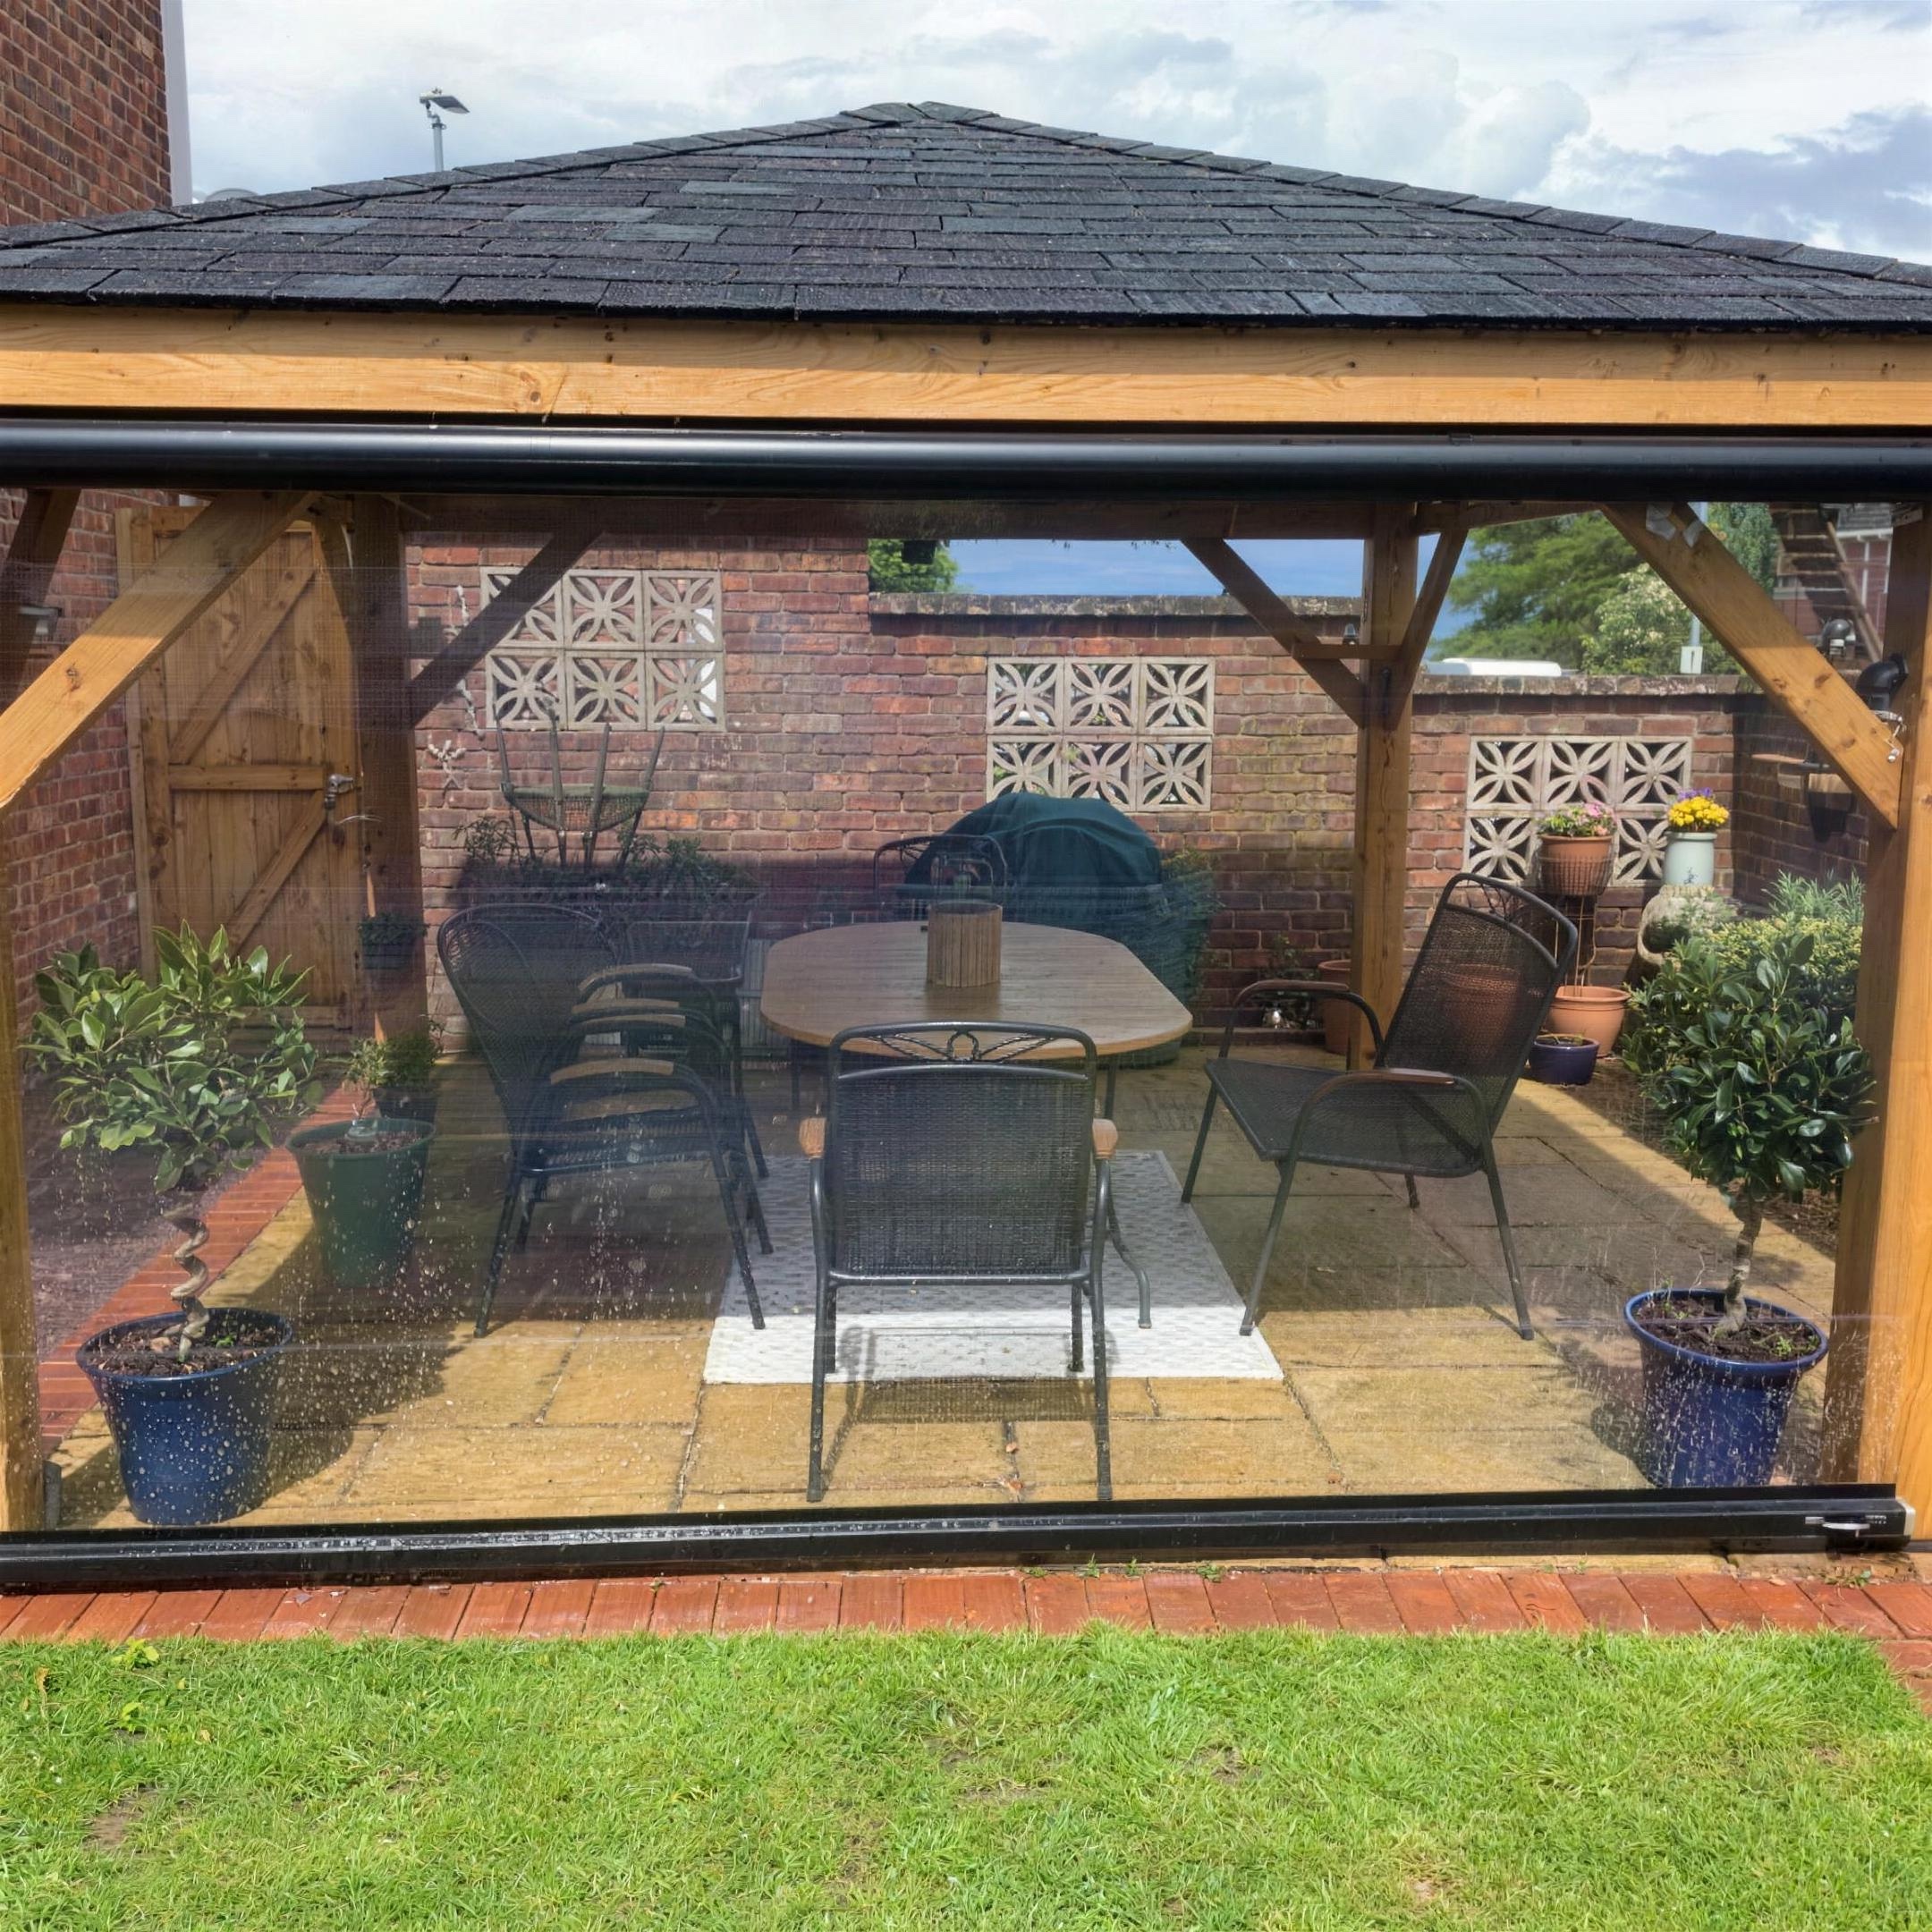
Fitted by you, in an afternoon.
The kit arrives pre-assembled, so the hard part is already done. With everyday tools and an hour or two, you will have the blind up and the space ready to use. Here is exactly how.
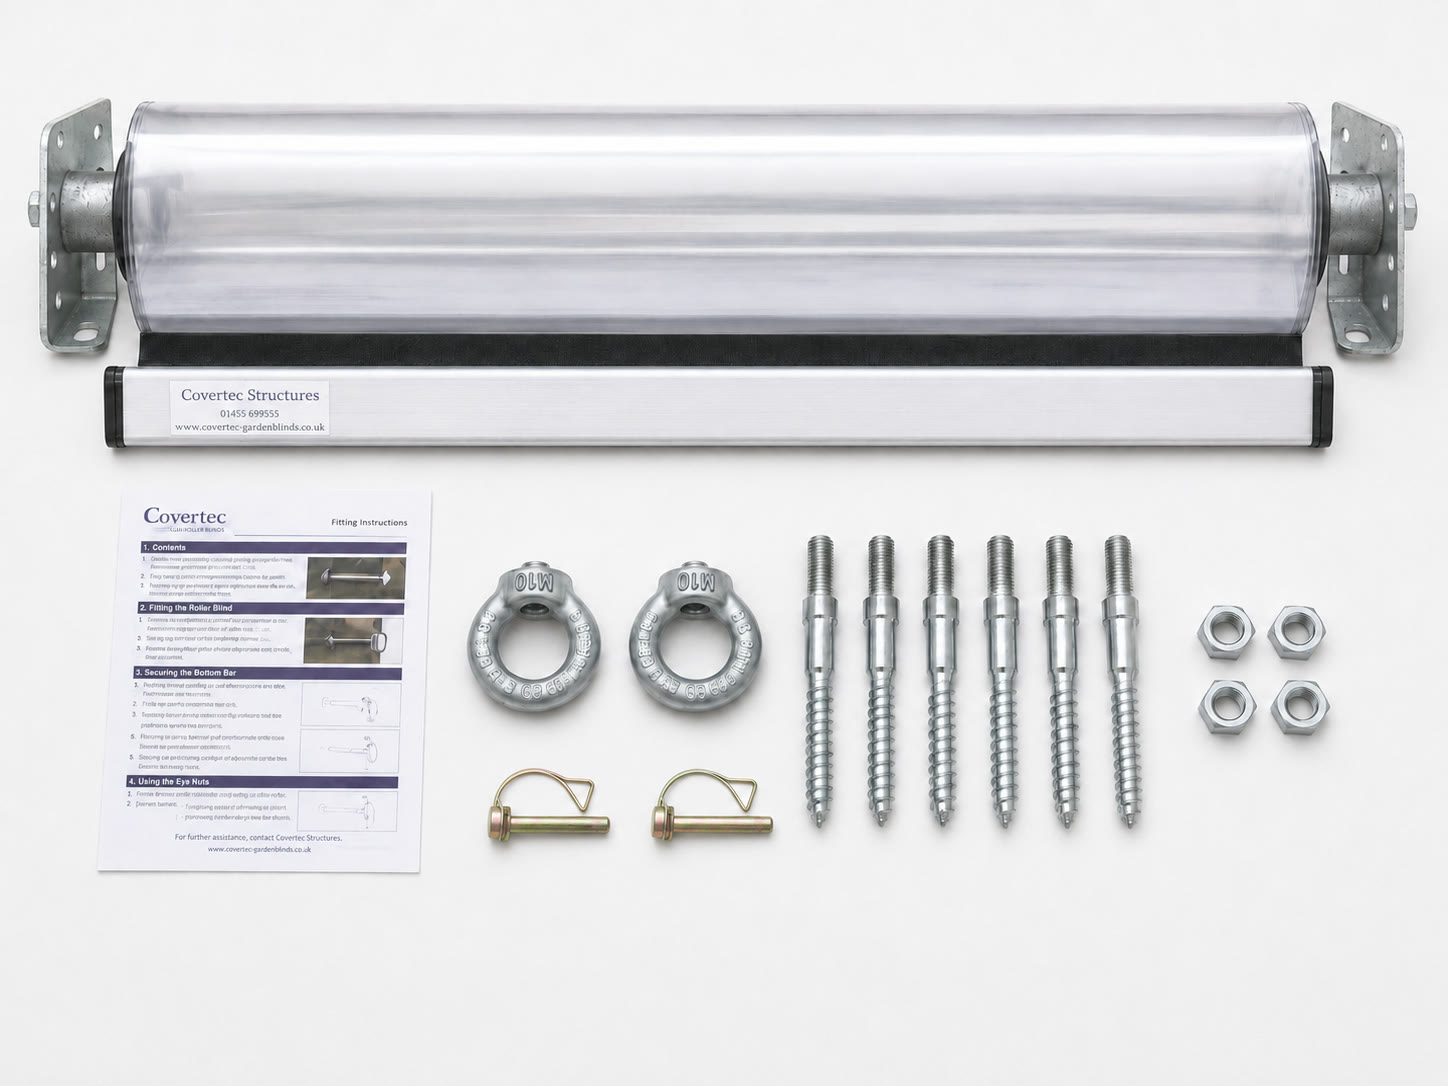
Everything you need, in one delivery.
Your blind arrives pre-assembled on its roller with the brackets fitted. Alongside it, you will find the dowels and nuts for fixing, the securing eyes and pegs that hold the bottom bar, a template for marking, and clear printed instructions. Nothing else to buy, nothing else to source.
- The blind, pre-assembled on its roller with brackets
- Dowels and nuts, securing eyes and pegs, and a marking template
- Clear printed fitting instructions
Important. Do not undo the locking bolt until the blind is fully fitted. The roller is spring loaded and releasing it early can cause damage or injury.
Six steps to a fitted blind
This is the short version of the printed guide that comes with your blind. Keep the locking bolt in place until step four.
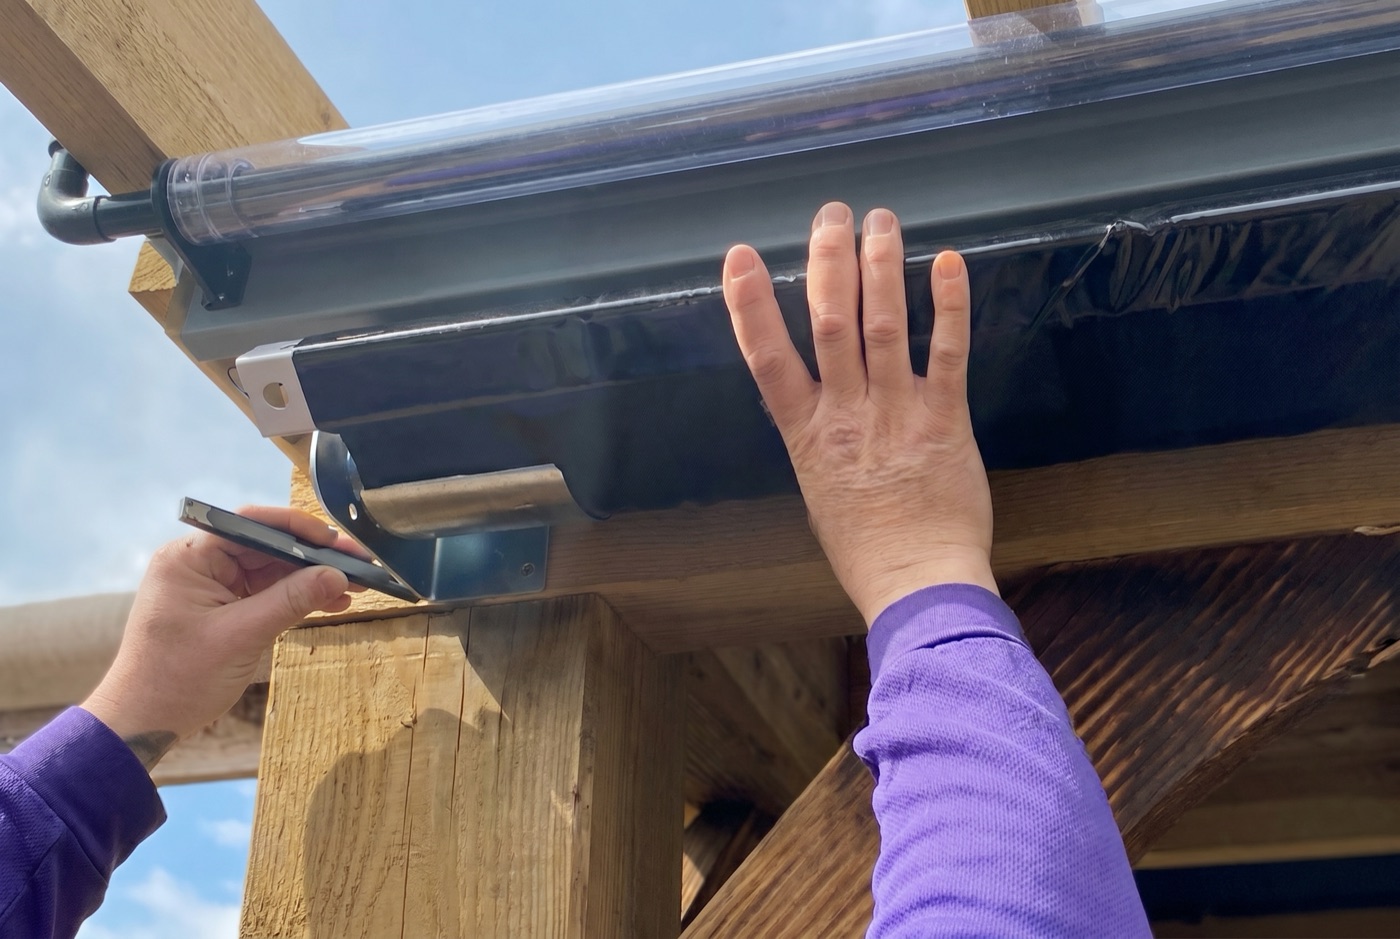
Mark the bracket positions
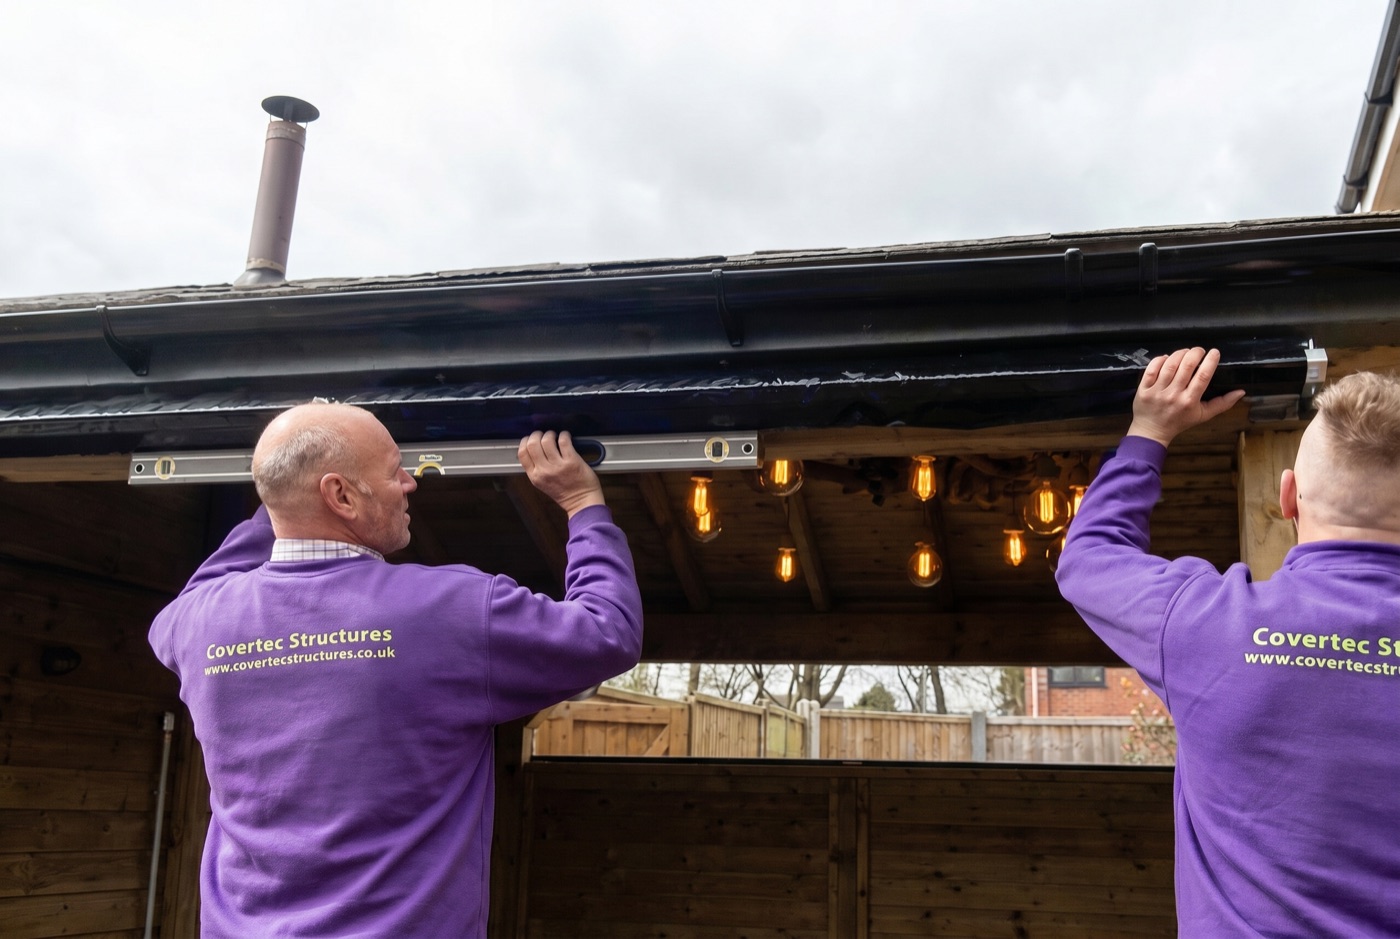
Offer the blind up to its ideal position and mark where the brackets sit on the framework. Use a spirit level so the roller is true, then mark the second bracket at the opposite end. Take your time here, the rest follows from it.
Fit the dowels
Screw in the dowels supplied at each marked point, leaving roughly half an inch protruding from the framework. Offer the blind up to the dowels to check the placement before you commit.
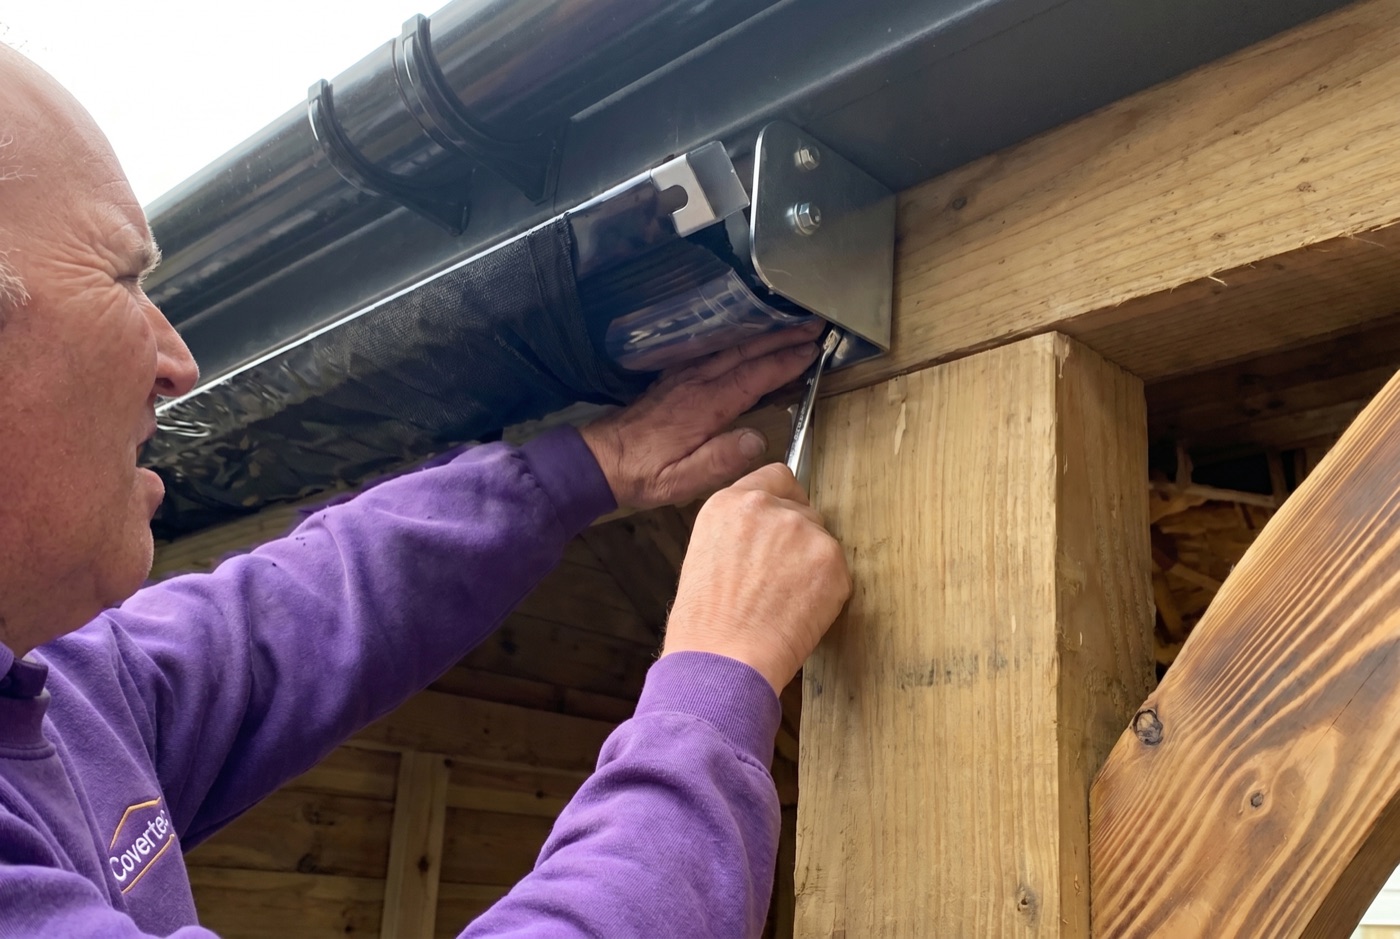
Mount the blind and secure it
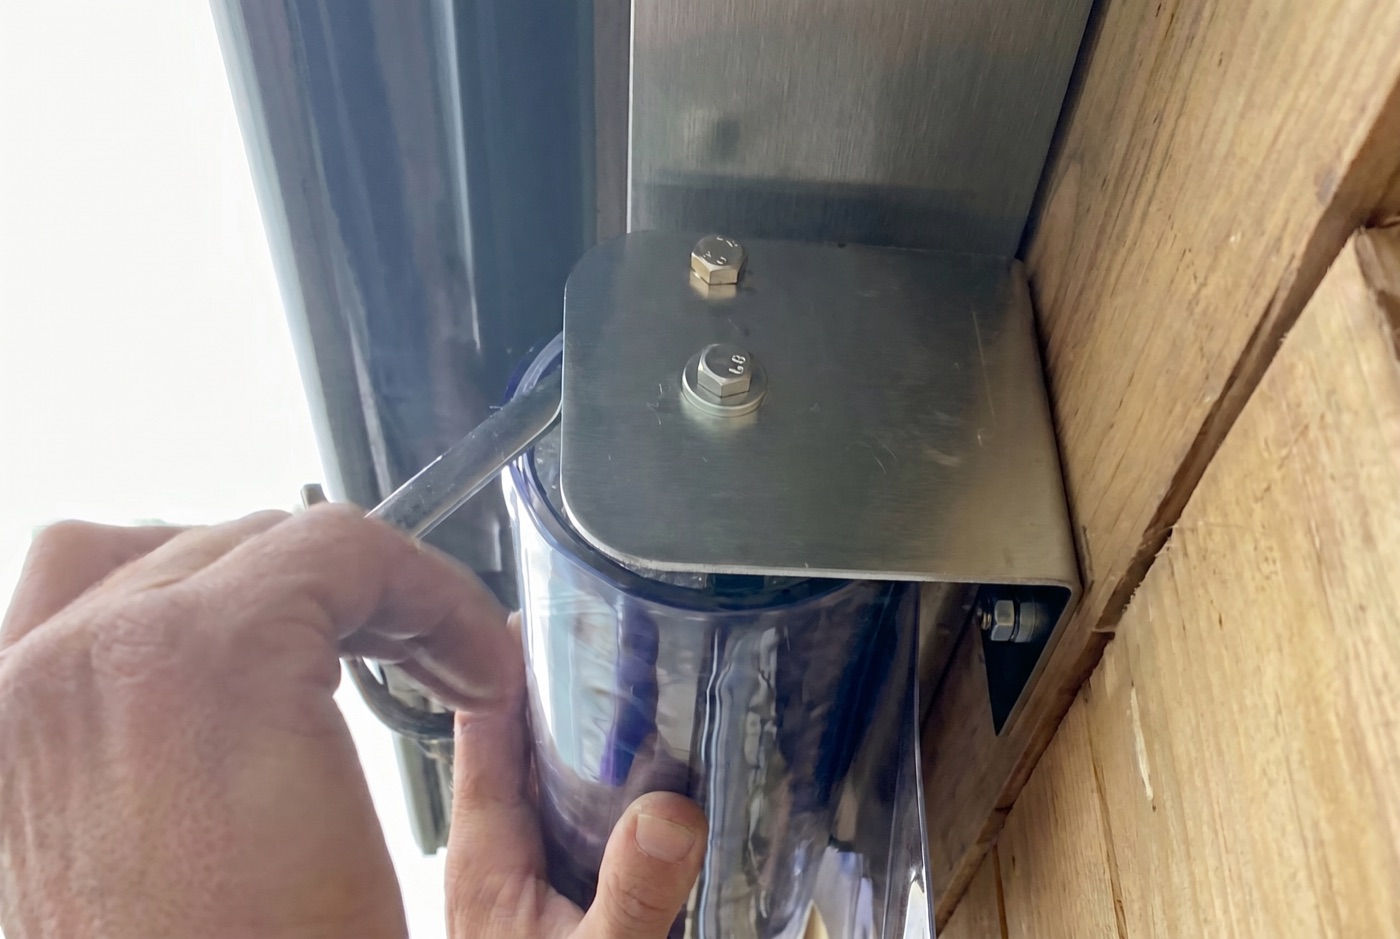
Fit the blind onto the dowels and use the nuts provided to tighten and secure it at both ends. Check once more that it is sitting level.
Unwrap, then release the spring
With the blind securely in place, remove the protective packaging and film. Only now remove the locking-off bolt from the end of the blind, which frees the spring mechanism to work.
Fix the securing eyes
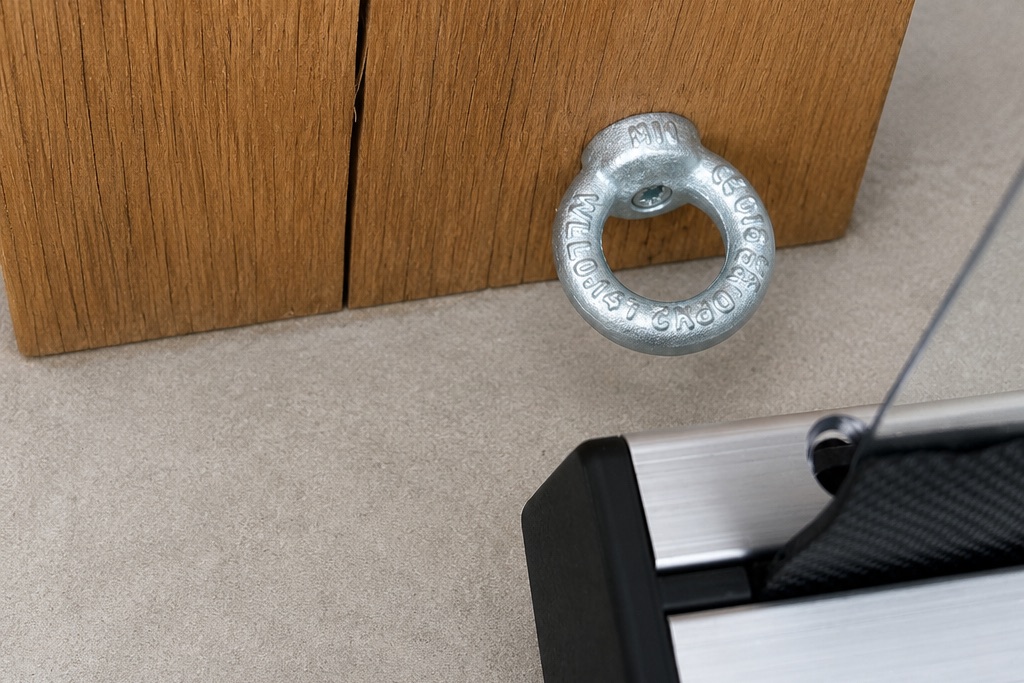
Pull the blind down to the depth you want and, using the template provided, mark where the securing eye sits in the corner. Screw in the dowels with half an inch protruding and attach the securing eye, keeping it horizontal. Repeat at the opposite end.
Clip the bottom bar and test
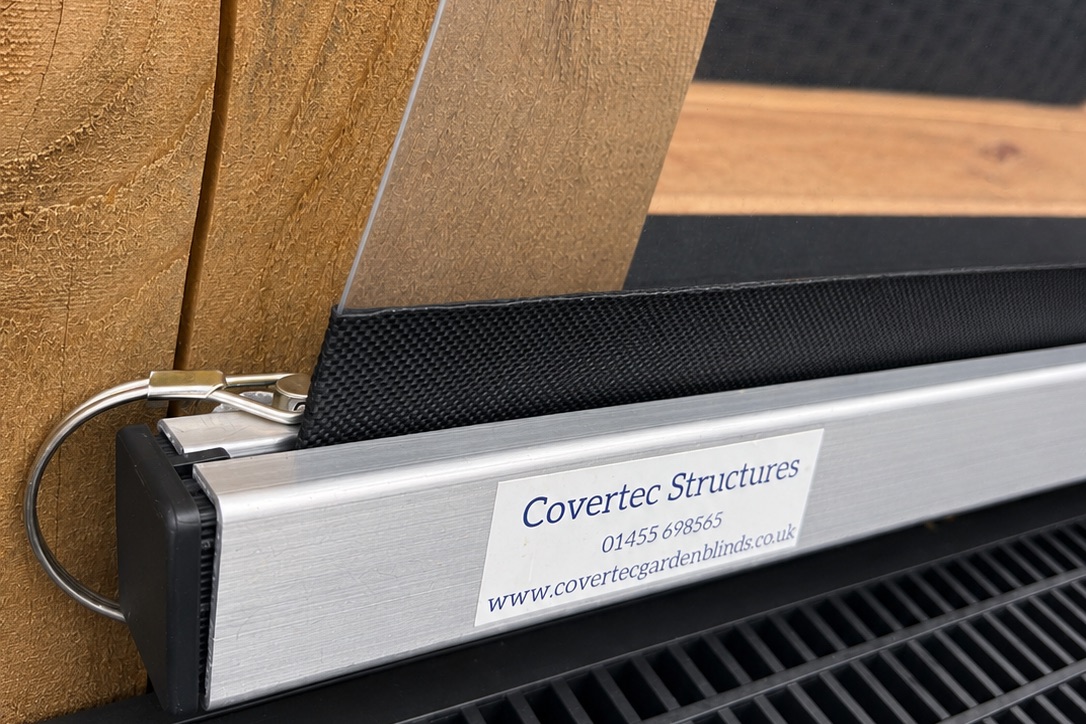
Push the bottom bar onto the securing eye and insert the peg to hold it in place, then do the same at the other end. Run the blind up and down a few times. It should move smoothly and sit square. That is the job done.
The full fitting guide, as a PDF
Every step above, with the measurements and the fixings list, in one printable document you can take out to the job.
Thank you. Your download is starting.
If it does not begin automatically, open the guide here.
Tools, time and help
- Tools you need
- Drill, screwdriver, spirit level, tape measure, pencil
- How long it takes
- An afternoon for an average homeowner
- How many people
- One can manage it, two is easier
- Stuck?
- Ring the production site, the makers will talk you through it
Fitting questions, answered plainly
No. The kit is designed to be fitted by the homeowner with everyday tools. Most people have it up in an afternoon. If you would rather use your own fitter, that is fine too.
Yes. Tell us what your structure is made of when you order and we will supply fixings to suit. If you are unsure, send a photo and we will advise.
Ring us. You will get straight through to the people who made your blind, and they will talk you through whatever you are stuck on. No call centre, no tickets.
Ready when you are.
Design your blind online for an instant price, or request a made-to-measure quote.